Several of you commented on the need, or lack thereof, for bust darts and Terby expressed an interest in knowing more about just how to add them to a garment.
In a perfect world, the designer would have ready access to the wearer of the garment for measuring. The recipient would be wearing a bra that would give the same level of support as she would plan to wear under the sweater.
Since my sister in law lives in Maine, I'm just kind of winging it, based on my years of garment sewing and an approximate knowledge of where most full-busted women need the extra space.
Short row darts offer more vertical room, so the hemline will hang straight. They also prevent the folds one sees in a garment when a full-busted woman wears a sweater without them.
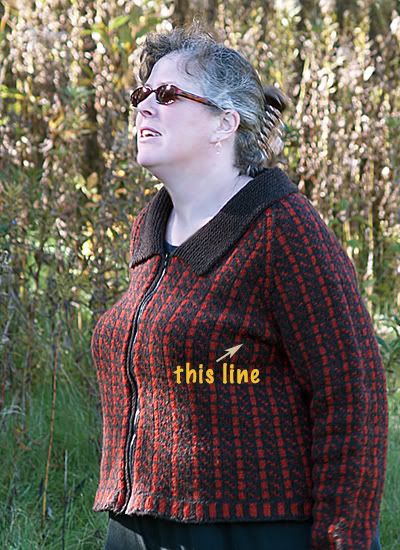
This image shows a fold line that I almost always get in an unshaped garment. It tells me that I really should be using darts for a smoother line and better fit.
Here are two hastily drawn pictures to illustrate bust darts:
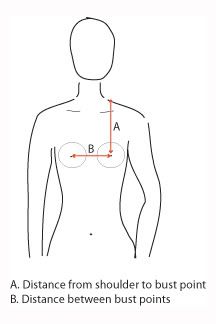
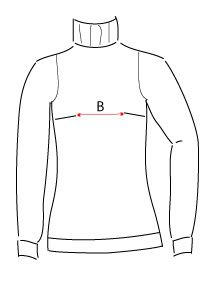
Helpful other measurements:
circumference at full bust
width of back at shoulders (not including sleeve/upper arms)
For very full-busted women, compare back half of chest circumference to front: you made need more space in front to accommodate a very full bust.
As for how many short rows to work, well, that can take some educated guesswork, too. I think a D cup woman probably needs about an inch worth of short rows needed in the center front. The more full busted a woman is, the more short rows need to be worked. One good way to estimate is to put on a t-shirt that doesn't have dart shaping in the bust and notice how much the front rides up and how much of a fold appears at the sides near the underarm. A well-fitting garment should not ride up in front and should not make a fold along the sides.
As for the method of short rows, once you understand the basic wrap and turn move, the placement depends on the style line you want in the dart. For Sloane, as I worked top-down, when I got to the bust dart area, I worked across the front to the bust point on the far side from where I started. Wrap and turn. I worked back to the other bust point. Wrap and turn. Then, I worked back past my previous
wrap and turn, to a point a little farther along. How much? I had figured on putting in four wrap and turns on each side, so divided the number of stitches between the bust point and the side of the garment by 4 and worked that many more each time. When I was back to working the full front, I had added 8 rows of length to the front of the sweater and continued on in the round in the usual way.
One could choose to do the short rows the other direction: that is, work most of the way across and turn near the seam on the far side. Wrap and turn to the corresponding point on the other side. Wrap and turn, then work to a point short of the first turning point. Continue until you have turned near the bust point on both sides, then work full rows.
Either way will add inches to your garment front without affecting the fit around the back or shoulders.
For general help in understanding fit and fabric shaping, I recommend
The Vogue Sewing Book, any edition. Check your local library or thrift shop


